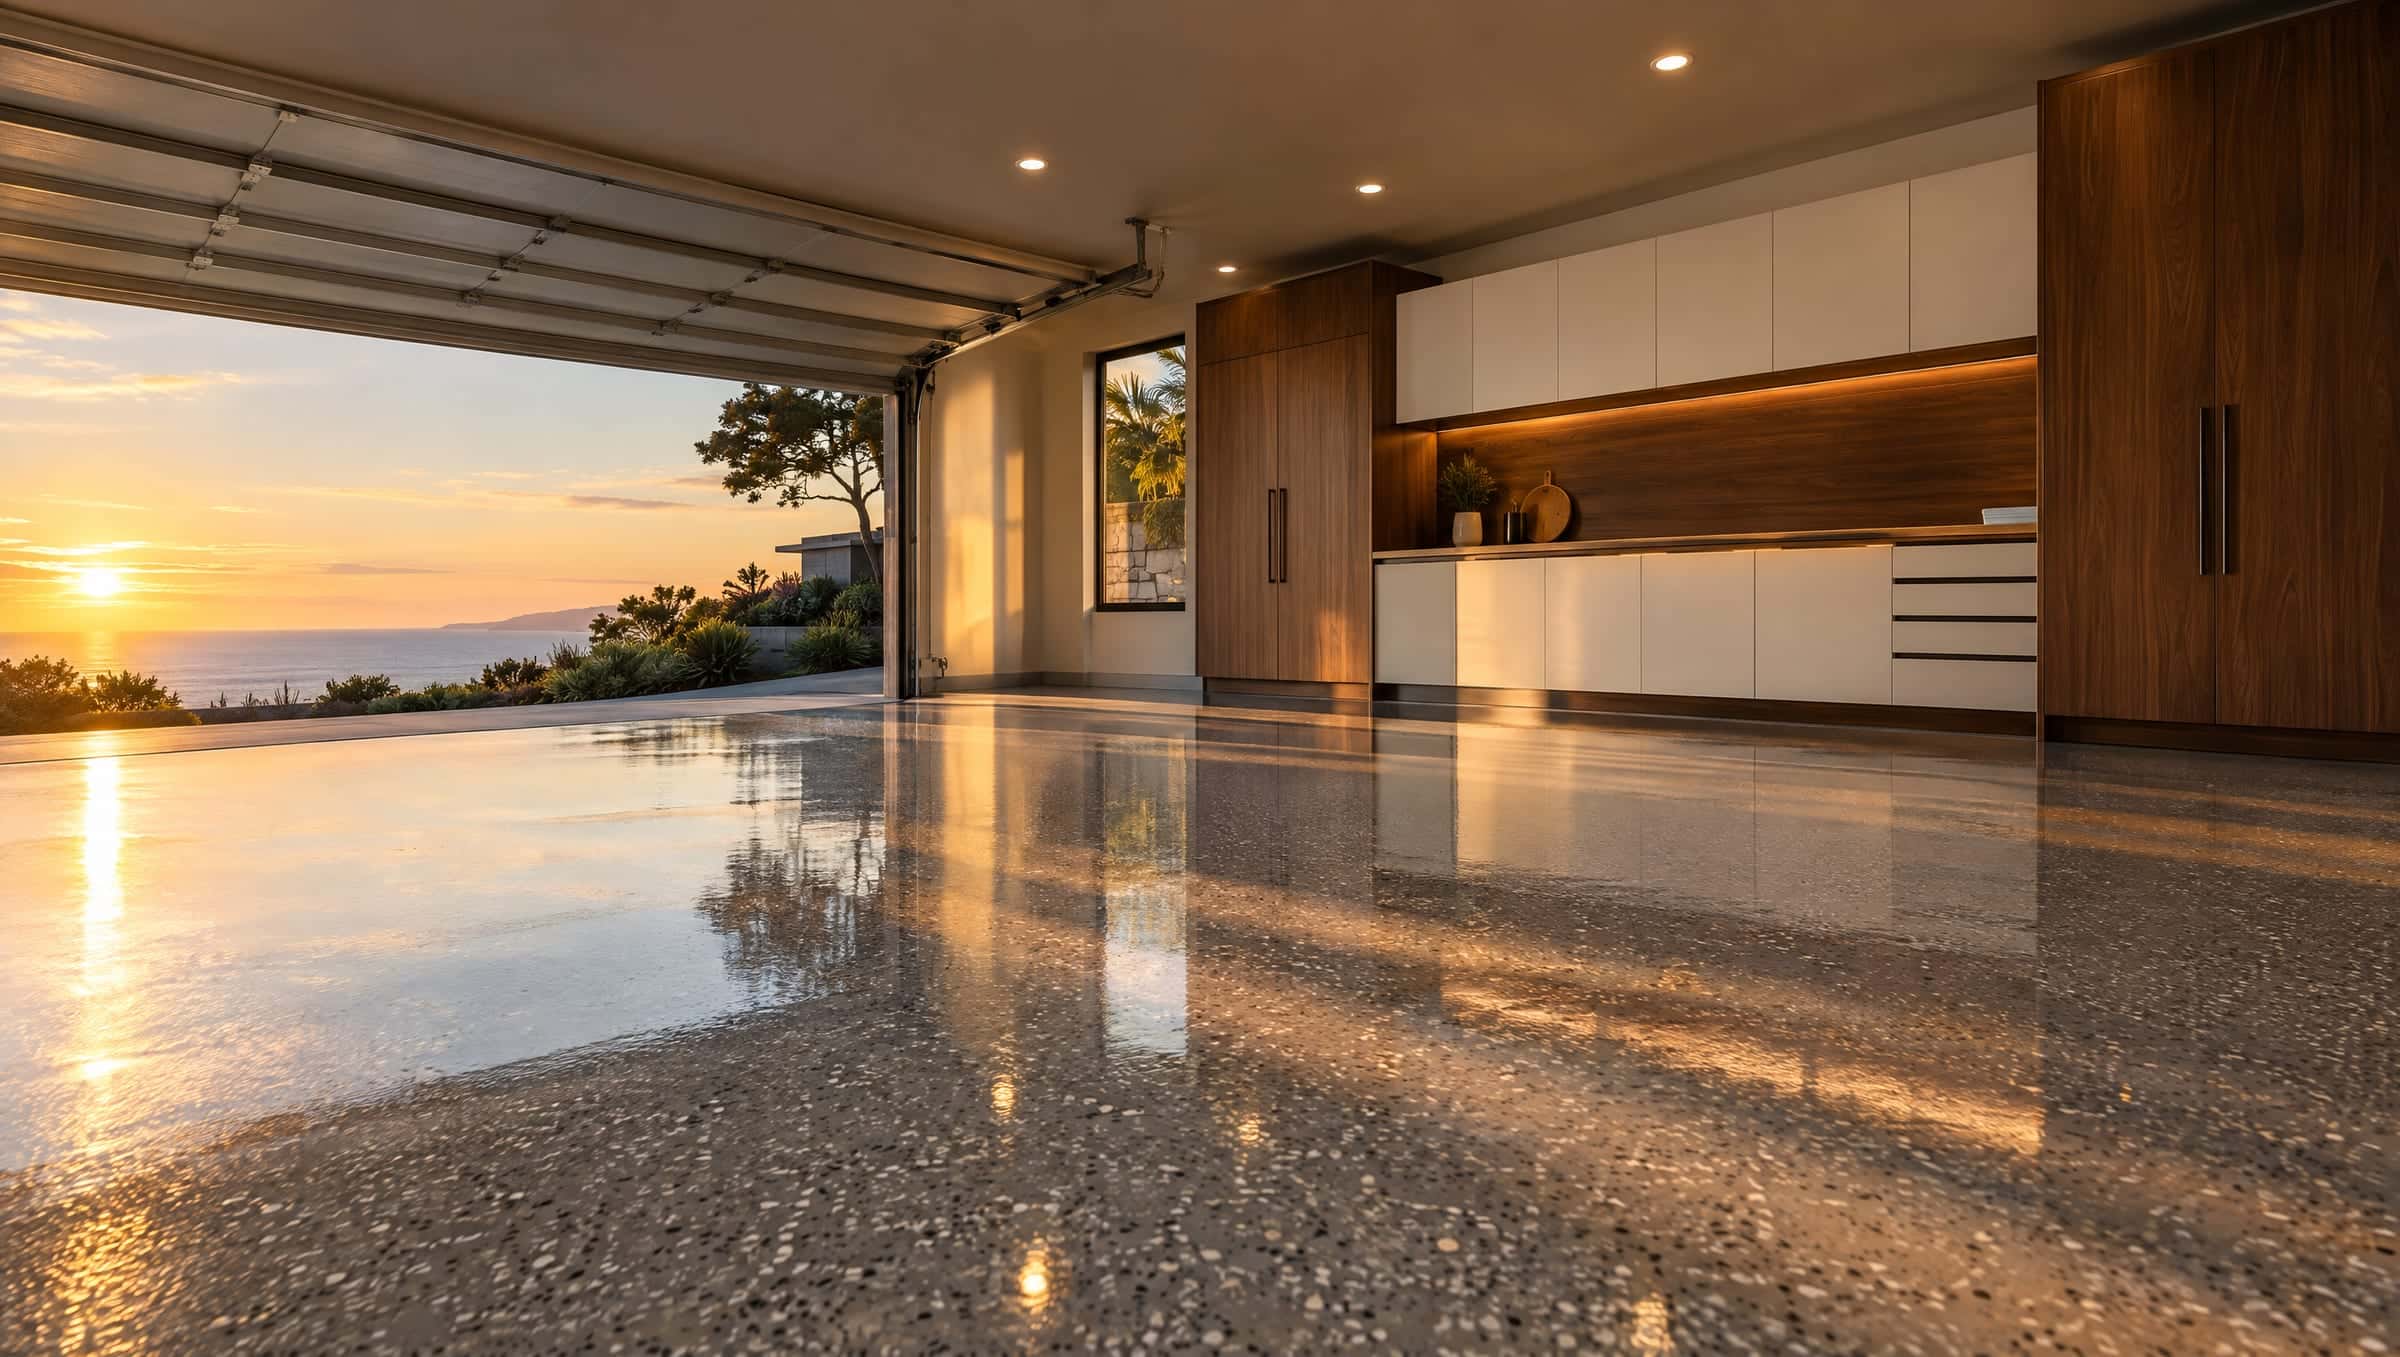
Garage Floor Epoxy in San Diego
Diamond-ground prep, a 100% solids epoxy base, flake or metallic color, and a UV-stable topcoat. A garage floor system built for coastal sun, salt air, and hot tires.
- Free on-site estimateMoisture test included
- Diamond-ground prepBonds into the slab
- UV-stable topcoatsBuilt for coastal sun
- Carlsbad to CoronadoService area
About garage floor epoxy
Garage floor epoxy in San Diego works best as a complete system, not a single coat. We diamond grind the slab, repair cracks, and test for moisture, then build the floor in layers: a 100% solids epoxy or polyurea base, a full broadcast of vinyl flake or a metallic pour, and a clear polyaspartic or polyurethane topcoat. Each layer has a job, and the topcoat is the one that faces the sun.
That matters here. Plain epoxy yellows under UV, and a garage door left open on a bright afternoon lets plenty in. Salt air near the coast, moisture vapor in older slabs, and hot tires after a freeway drive each test a coating in a different way. Thin, single-coat kits struggle with all three.
If you are comparing epoxy garage floor installers in San Diego, ask three questions: how they prep the slab, whether they test for moisture, and what the topcoat is. The answers tell you more about how the floor will age than any color sample.
Why homeowners and businesses choose it
A layered system, not a coat of paint
Grinding opens the concrete so the base can bond. The 100% solids epoxy base builds thickness and grips the slab. Flake or metallic pigment adds color and texture. A clear polyaspartic or polyurethane topcoat takes the wear, the UV, and the spills, and it can typically be scuff-sanded and recoated later instead of stripping the whole floor.
Built for hot tires and spills
Tires heat up on the drive home and release plasticizers that soften thin coatings. The industry calls it hot-tire pickup. A fully cured, multi-layer system resists it. The same sealed surface keeps motor oil, coolant, and pool chemicals on top, where a prompt wipe removes them, instead of letting them soak into bare concrete.
Easy to keep clean
A sealed, seamless floor does not shed concrete dust or absorb drips. A dust mop and a pH-neutral cleaner handle routine care. Flake blends also hide sand, leaves, and faint tire marks between cleanings, which is why flake is the usual choice for a garage that gets used every day.
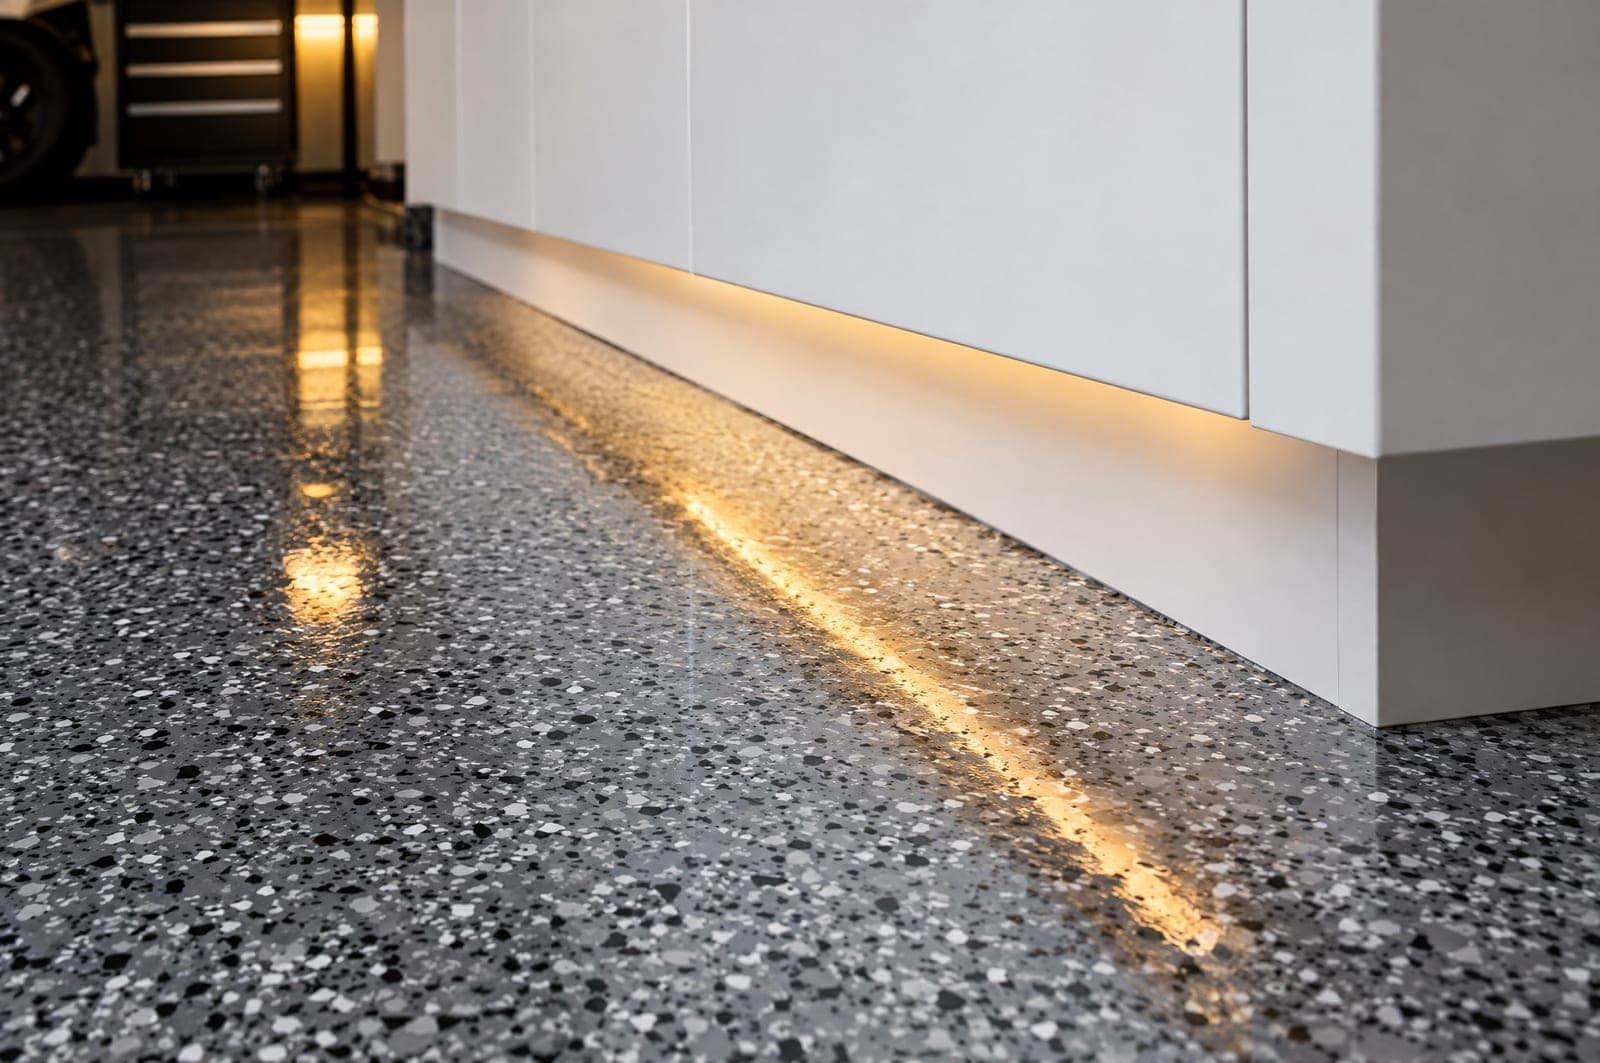
Garage flooring that reads as a room
A coated floor changes how the whole space feels. It bounces light, brightens the walls, and makes the garage usable as a gym, a workshop, or a showroom for a car you care about. Paired with cabinets and good lighting, it anchors a full garage makeover, and it is the part you notice every time the door opens.
What goes into the system
| Spec | Typical |
|---|---|
| System layers | 100% solids epoxy or polyurea base, full-broadcast flake or metallic, UV-stable clear topcoat |
| Surface prep | Diamond grinding to an ICRI CSP 2 to 3 profile (about medium sandpaper), crack and spall repair, and a moisture test. No acid etching. |
| Typical total thickness | About 20 to 40 mils (0.5 to 1 mm), depending on system and finish |
| Walk-on time | Typically 4 to 6 hours with a polyaspartic topcoat; about 24 hours with an epoxy topcoat |
| Vehicle traffic | Typically 24 to 48 hours with polyaspartic; 3 to 7 days with epoxy |
| UV stability | High with a polyaspartic or aliphatic polyurethane topcoat; plain epoxy ambers in direct sun |
| Finish options | Flake blends, metallic, or solid color; gloss or satin; anti-slip additive available |
All times and thicknesses are typical ranges. Products vary, and slab temperature and humidity change cure speed, so your written estimate lists the figures for the exact system we propose.
How we install it
- 01
Inspection and moisture test
We walk the space, measure it, and look closely at the slab: cracks, spalls, old coatings, oil stains and drainage. Then we test for moisture vapor with a calcium chloride test or a relative humidity probe. The results decide the system, the primer and the prep, and they go into your written estimate.
- 02
Diamond grinding and surface prep
We grind the concrete with diamond tooling and dust collection to a consistent profile, typically CSP 2 to 3, about the feel of medium sandpaper. Grinding removes weak surface paste, old sealers and contamination, so the base coat bonds into the slab instead of sitting on top of it.
- 03
Crack and spall repair
Cracks, chips, spalls and pitting are filled with a polyurea or epoxy repair material and ground flush with the floor. Control joints are cleaned out and either filled or kept open, depending on the system. Repairs stop defects from showing through the finish and remove weak points where a coating could lift.
- 04
Base coat and broadcast
The base coat goes down: 100% solids epoxy, polyurea, or a moisture-mitigating primer where testing called for one. Flake floors get color chips broadcast to full coverage. Metallic floors get pigments worked by hand. Commercial floors may get a quartz broadcast. Loose material is scraped and vacuumed once the base cures.
- 05
UV-stable topcoat, cure and return to service
A clear polyaspartic or polyurea topcoat seals the floor, sets the sheen and resists UV yellowing, with slip-resistant texture available. Foot traffic typically returns within about 24 hours. Vehicles typically wait 24 to 48 hours on polyaspartic systems and 3 to 7 days on epoxy, depending on product and temperature.
- Moisture comes first. We run a calcium chloride test or an in-slab relative humidity (RH) probe before choosing the base coat, and add a moisture-mitigating epoxy primer when the reading calls for it.
- Control joints are a choice. We can fill and coat over them for a seamless look, or keep them open so the slab can move without cracking through the coating. We walk you through the trade-off on site.
- The garage needs to be fully empty for the install and cure, including anything stored low on the walls. Vehicles stay out until the topcoat reaches its drive-on time.
Built for coastal sun, salt air, and moisture
Garage floor epoxy and San Diego sun
Plain epoxy ambers when UV reaches it, and a cool gray floor can drift toward beige within a season or two of open-door afternoons. San Diego sun is strong year-round, so we finish every garage system with a UV-stable polyaspartic or aliphatic polyurethane topcoat. That keeps the color you pick on sample day close to the color you live with.
Salt air and marine-layer moisture
Within a few miles of the ocean, from Point Loma to Del Mar, salt air and the May Gray and June Gloom marine layer bring steady humidity. Chlorides and efflorescence (white mineral salts pushed up through concrete) break the bond of any coating laid over them. We grind them off, test moisture, and prime for it when needed, which matters most on older slabs close to the water.
Inland heat and hot tires
Inland areas such as Carmel Valley, Rancho Santa Fe, and Poway run hotter and drier, and so do the tires that roll in after a summer drive. Heat speeds plasticizer migration, the cause of hot-tire pickup. A thick, fully cured system with a hard topcoat resists it, which is why we hold vehicles off until the topcoat is ready for them.
Professional garage floor epoxy vs a DIY kit
| Professional system | Typical DIY kit | |
|---|---|---|
| Surface prep | Diamond grinding to a measured profile, plus crack and spall repair | Degreaser and acid etch, or a scrub |
| Moisture check | Tested; primer matched to the reading | Usually untested |
| Coating | 100% solids epoxy or polyurea base, flake or metallic, polyaspartic topcoat | Often a water-based or lower-solids epoxy in one or two thin coats |
| Thickness | About 20 to 40 mils across layers | Often only a few mils |
| UV stability | UV-stable topcoat holds color | Usually no UV-stable topcoat; yellows in sun |
| Hot-tire resistance | Designed to resist it once fully cured | A common failure point |
| Typical outcome | Many years of service with routine care | Peeling and tire marks are common complaints, especially over light prep |
What garage floor epoxy costs in San Diego
Typical San Diego ranges for a professional garage system run about $5 to $8 per square foot. Slab condition, crack repair, moisture mitigation, and your finish decide where a floor lands, and our cost guide breaks it down by garage size.
Garage Floor Epoxy questions
Compare other floor systems
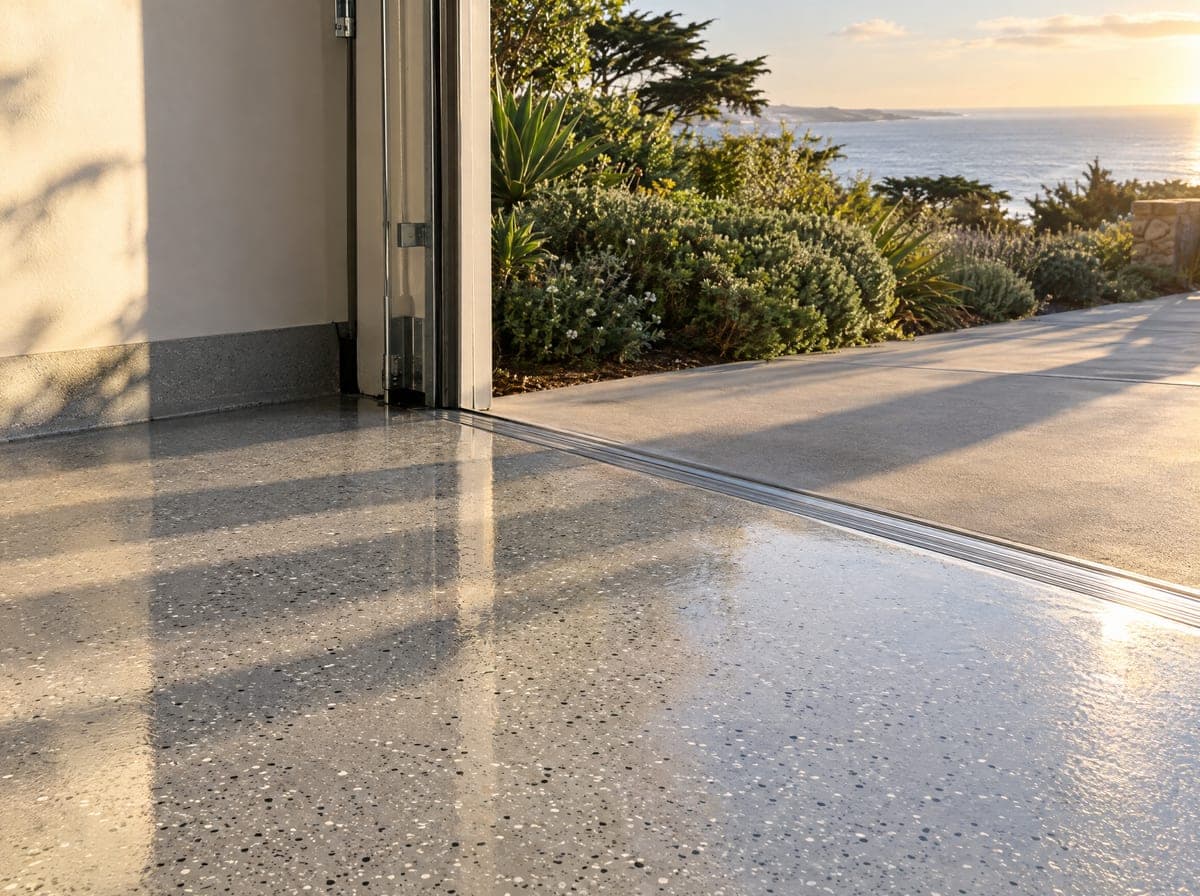
Polyaspartic Coatings
UV-stable, fast-curing polyaspartic topcoats and full systems that hold their color in open, sunlit garages and return to service in a day or two.
Learn more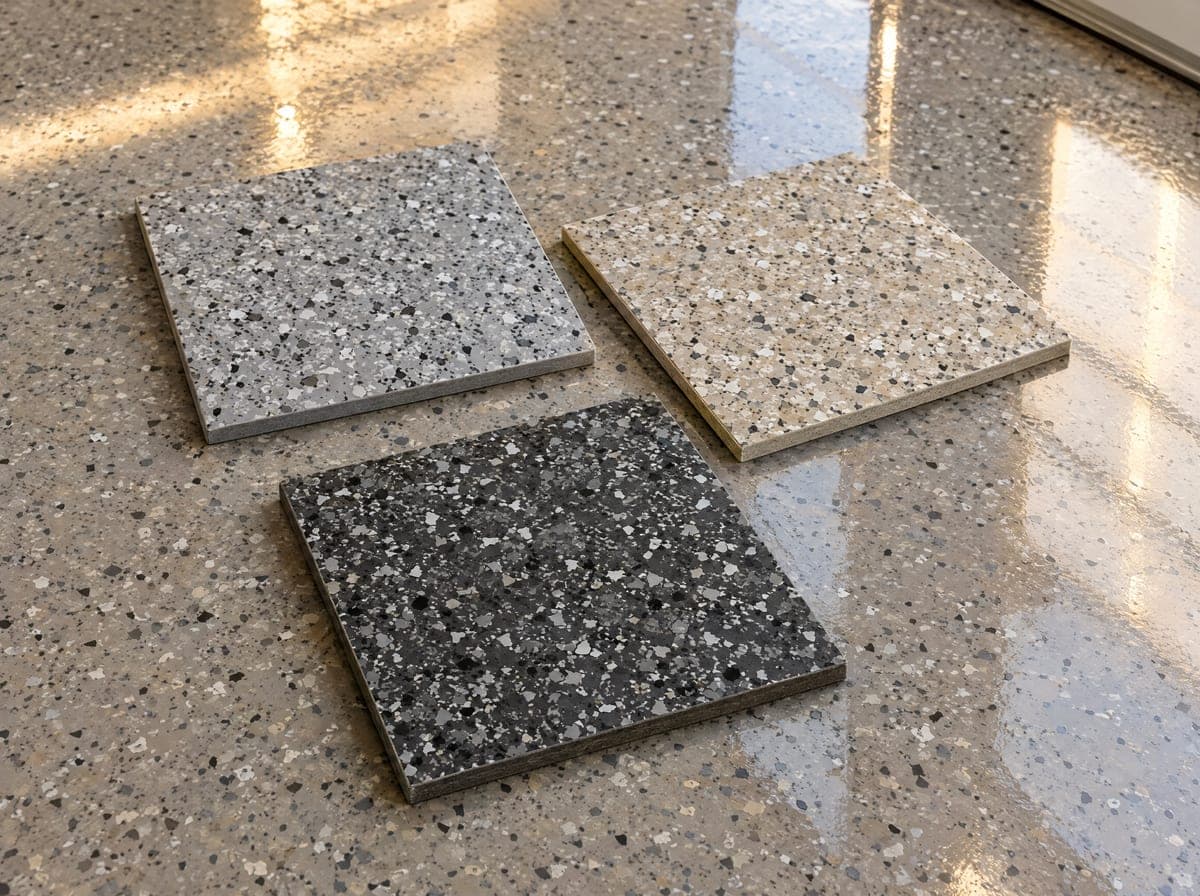
Flake Epoxy Floors
Full-broadcast vinyl flake under a UV-stable clear coat: textured for grip, forgiving of dust and slab flaws, in color blends chosen to suit your home.
Learn more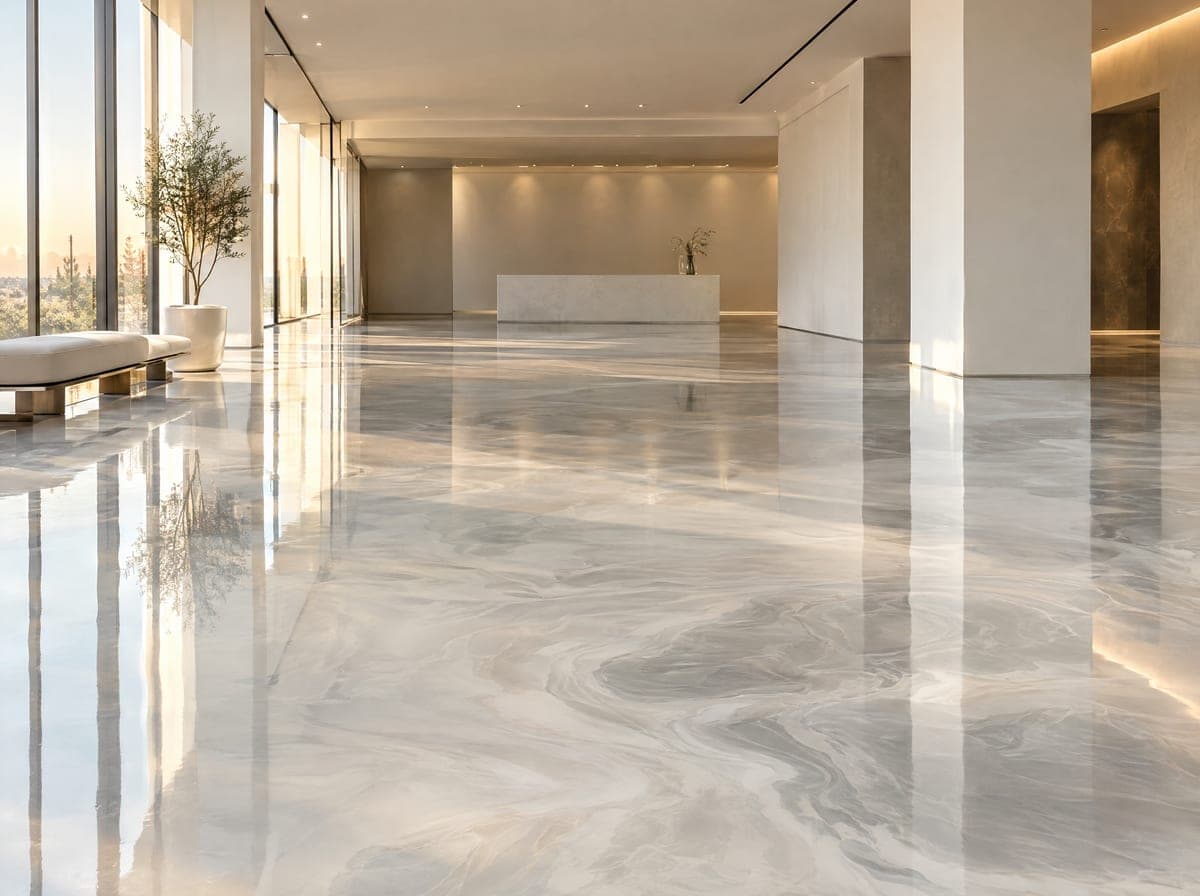
Metallic Epoxy Floors
Hand-worked metallic epoxy with pearlescent depth and movement, sealed under a clear topcoat. A one-of-a-kind floor for interiors, showrooms, studios, and showcase garages.
Learn moreGarage Floor Epoxy across San Diego
La Jolla
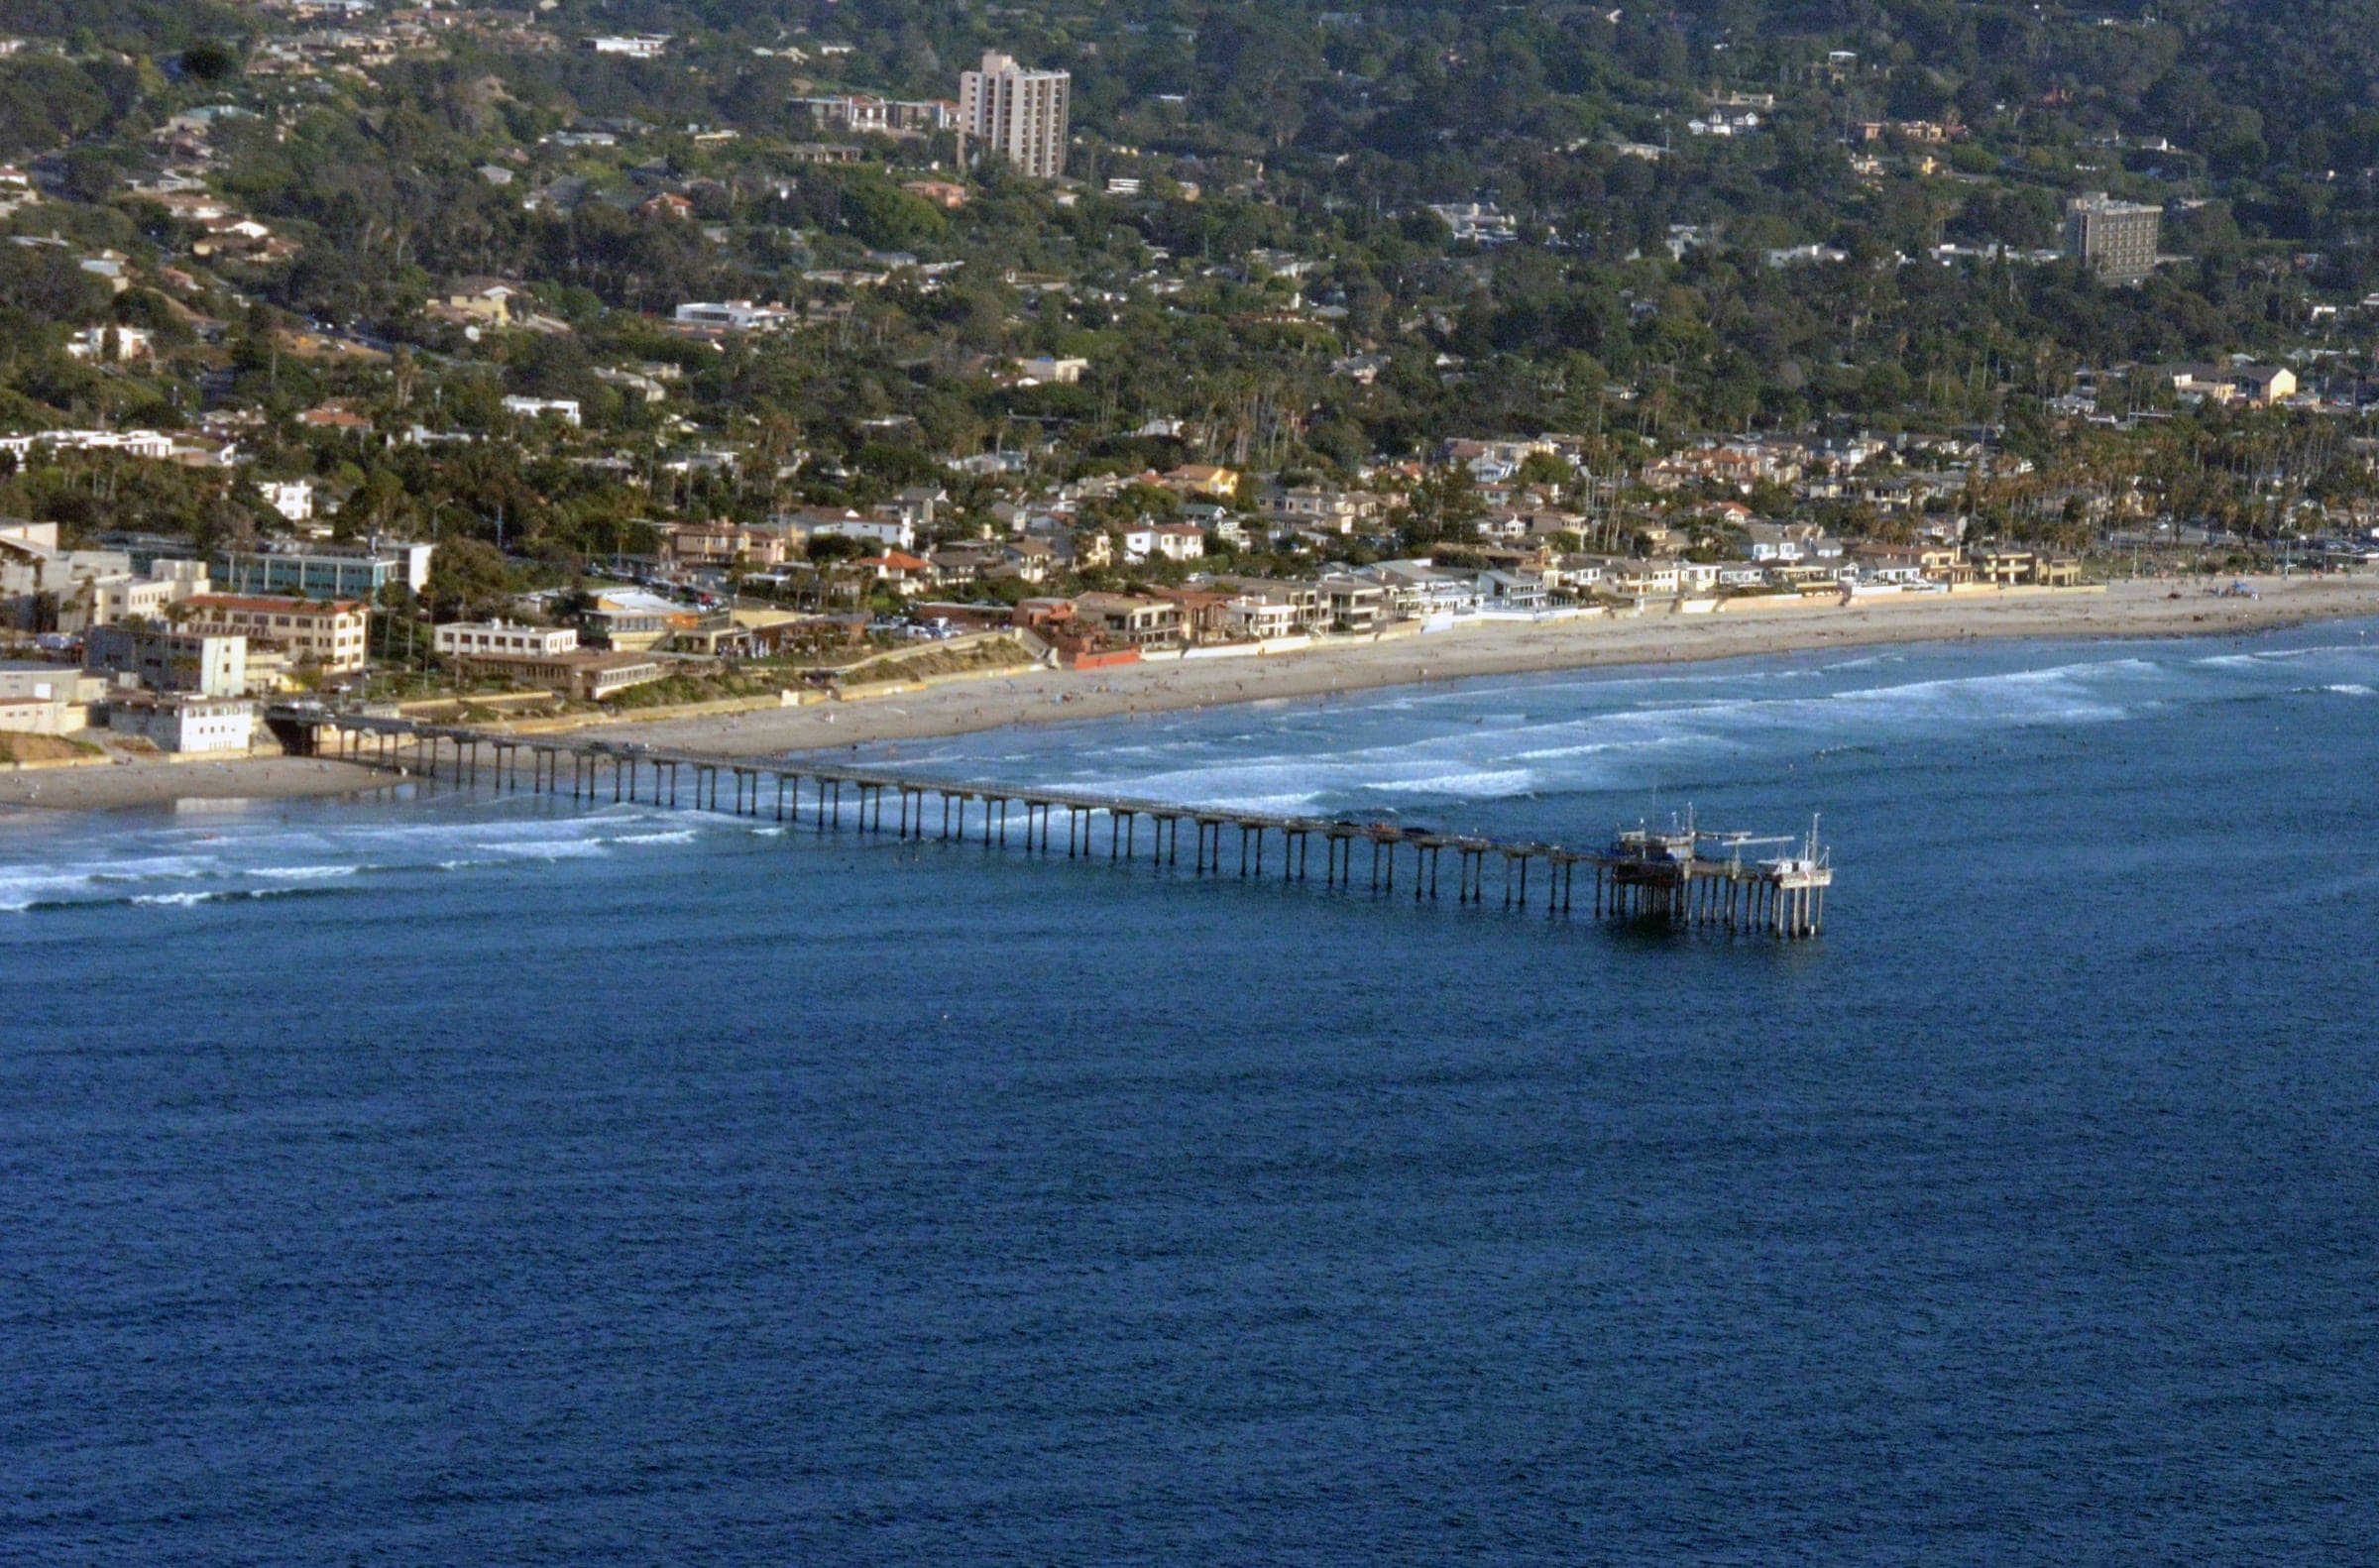
Garage floor epoxy and polyaspartic coatings for La Jolla homes, built for salt air, marine-layer mornings and strong coastal sun, from Bird Rock to La Jolla Farms.
Epoxy floors in La Jolla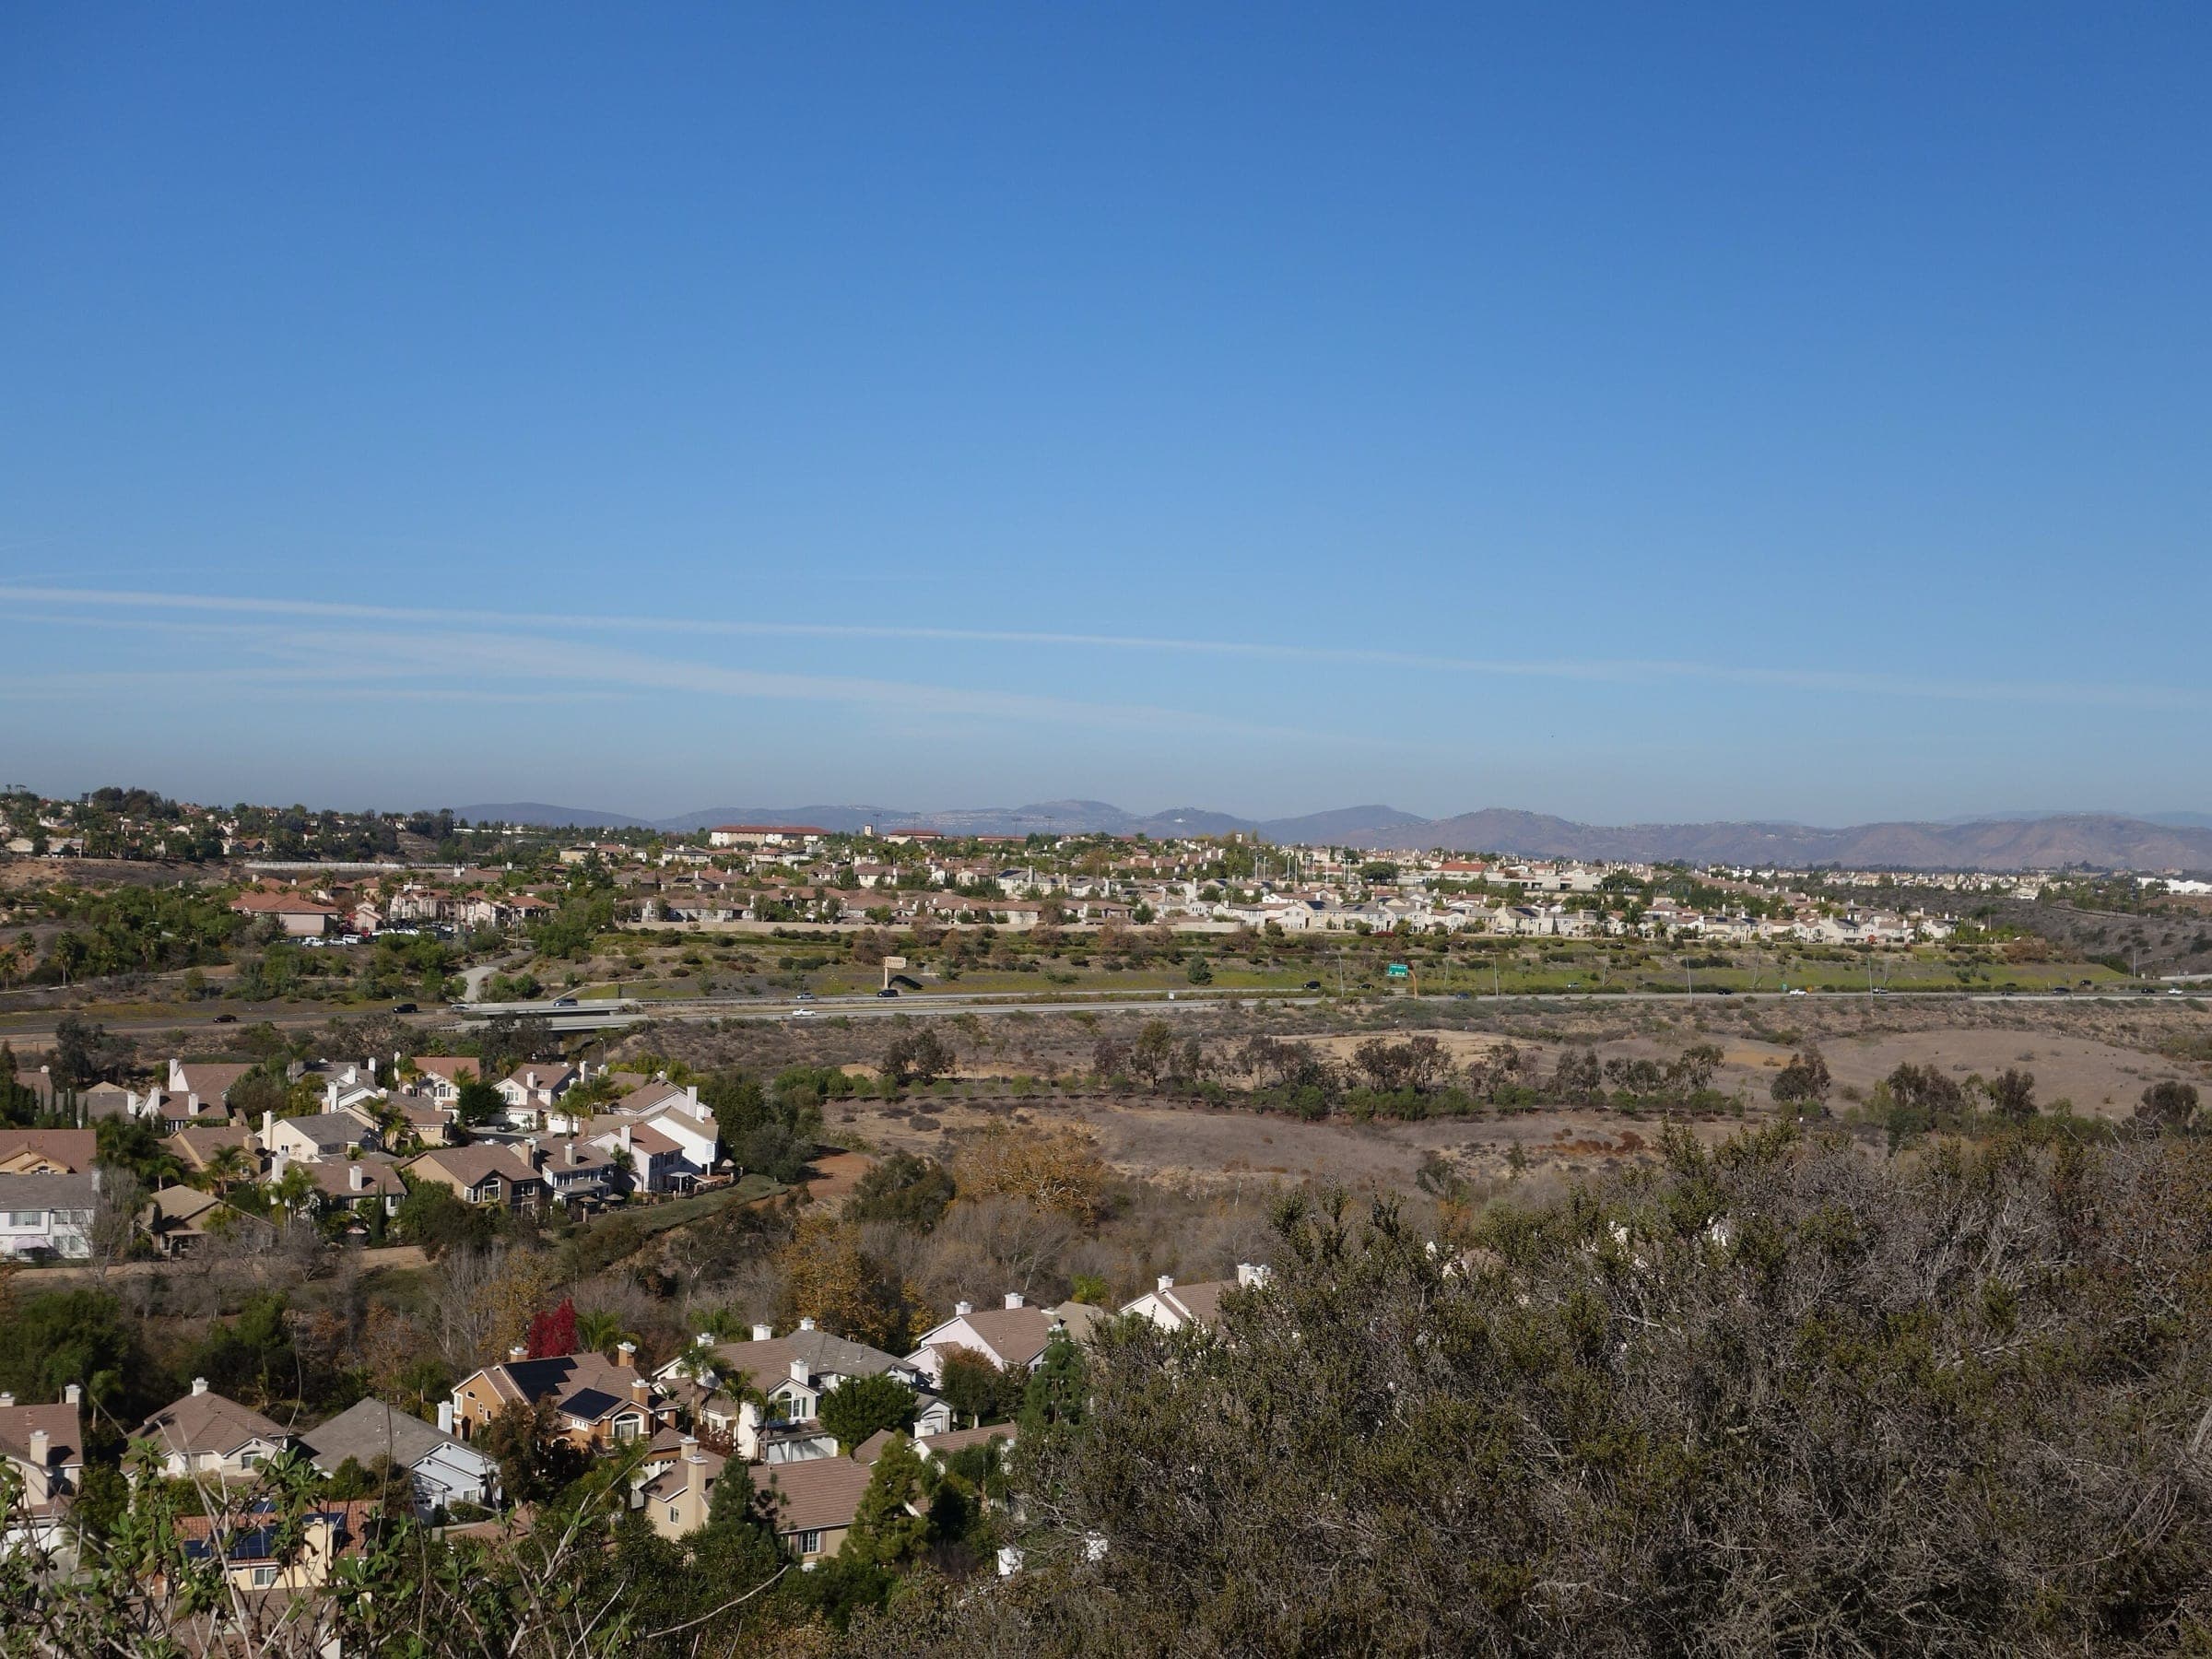
Carmel Valley
Flake and polyaspartic garage coatings for Carmel Valley, Pacific Highlands Ranch and Torrey Hills homes, with full removal of old coatings and HOA submittal support.
Epoxy floors in Carmel Valley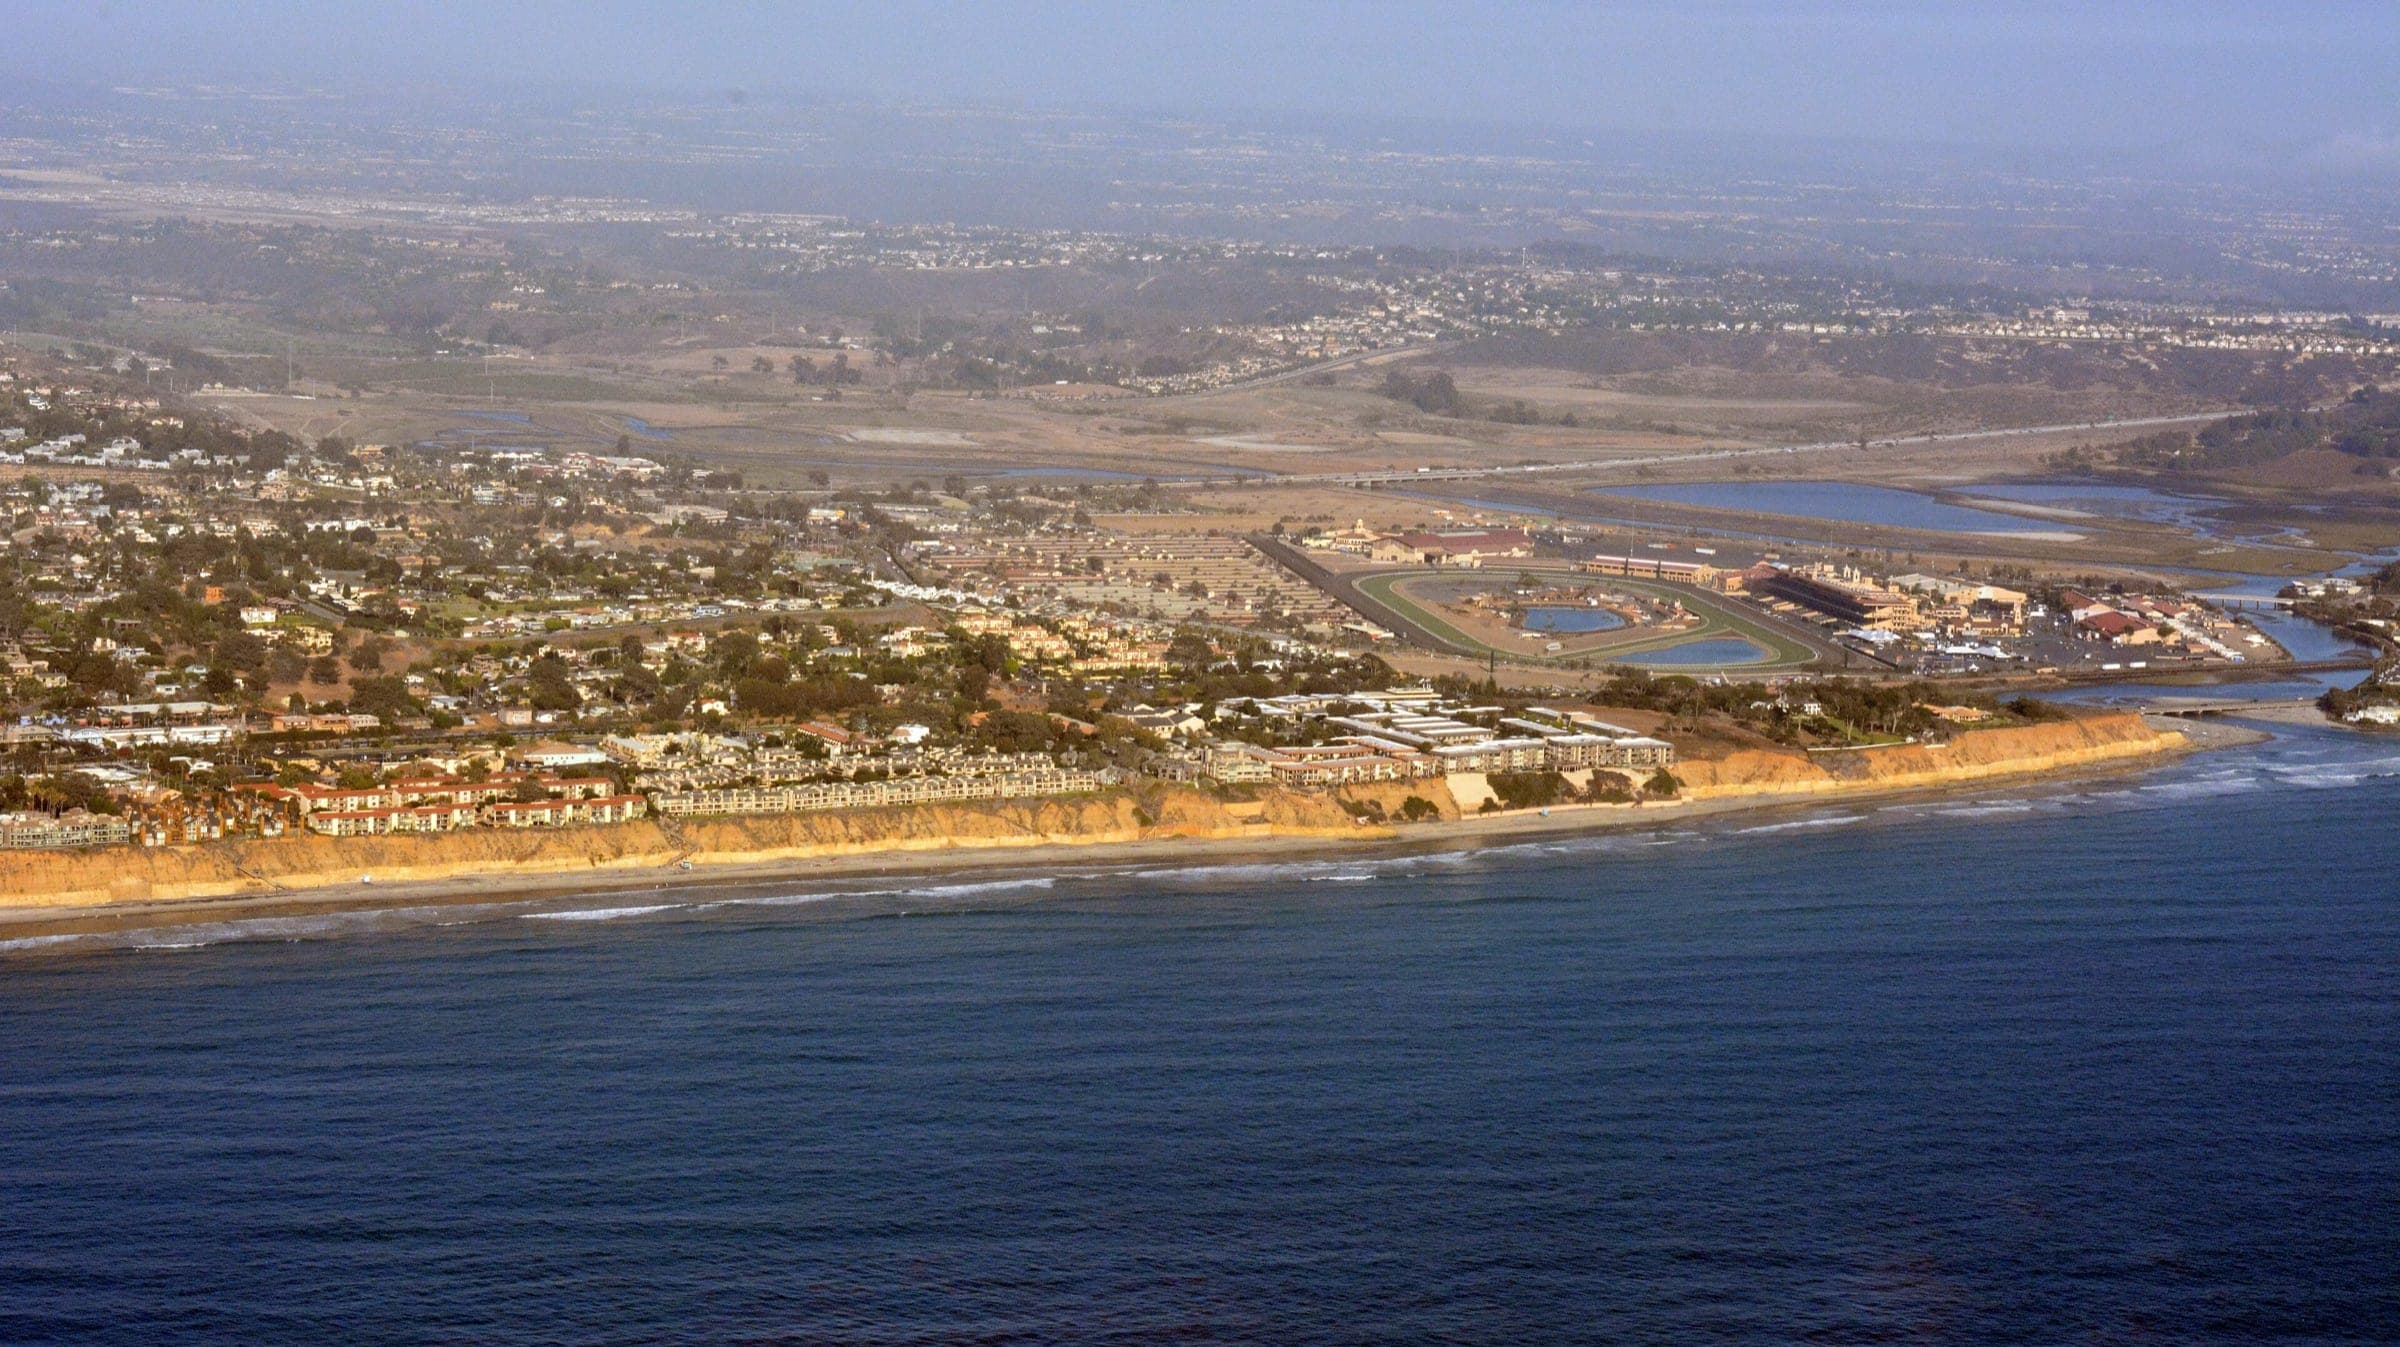
Del Mar
Garage coatings and concrete resurfacing for Del Mar and Solana Beach, with moisture testing for low-lying slabs and UV-stable topcoats for salt air.
Epoxy floors in Del Mar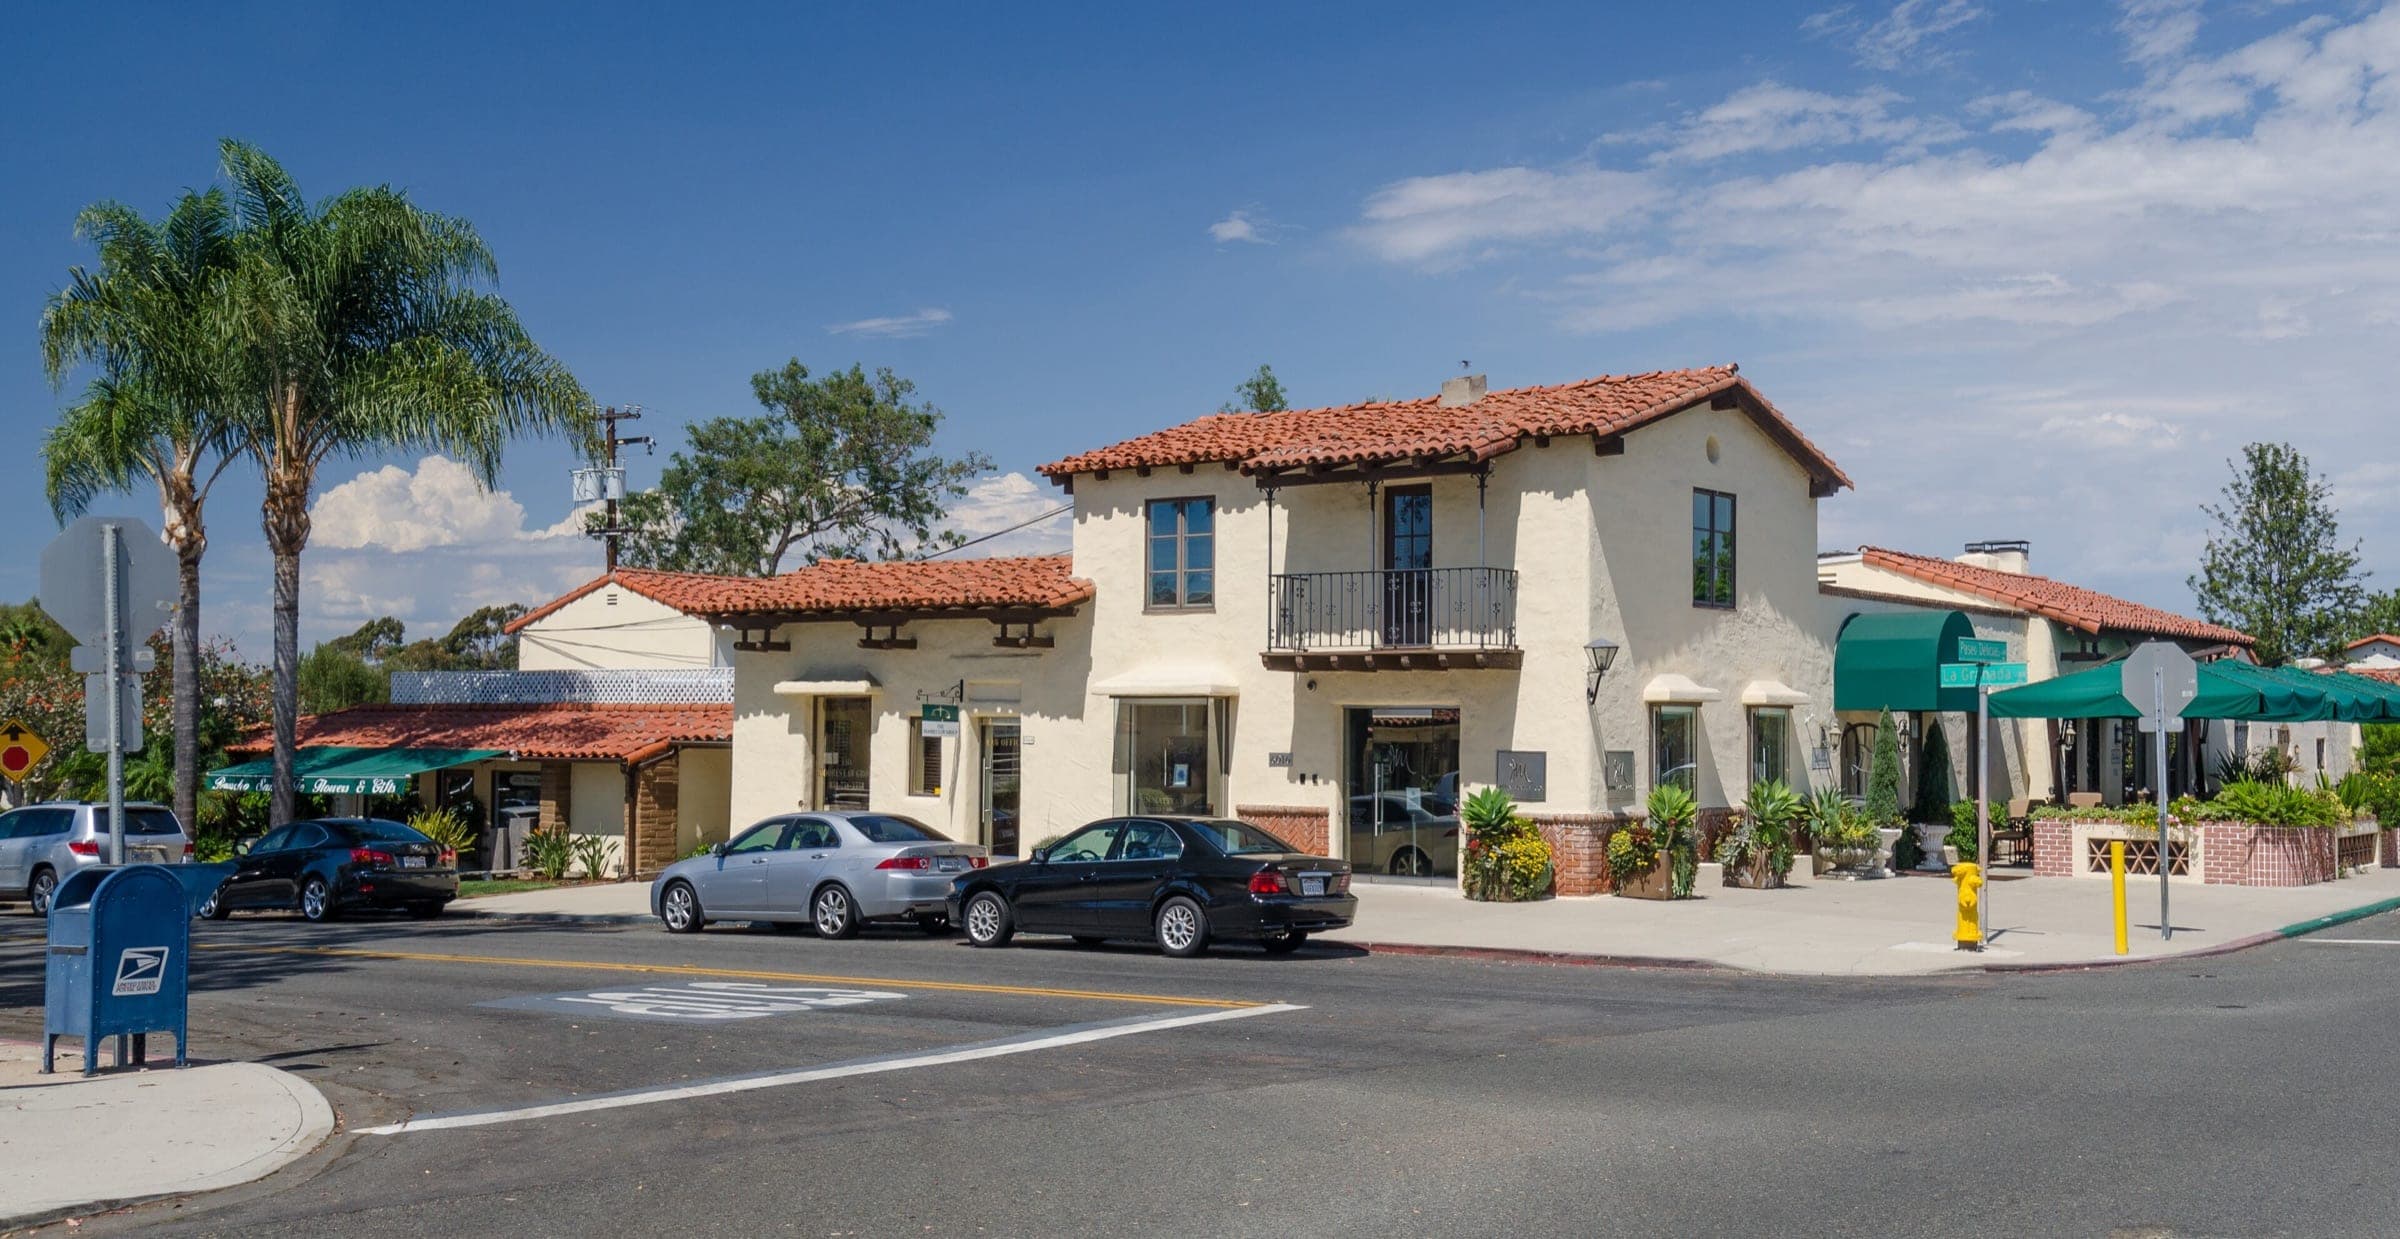
Rancho Santa Fe
Garage floor epoxy, metallic finishes and pool deck resurfacing for Rancho Santa Fe estates, with prep for inland heat and product details for Art Jury review.
Epoxy floors in Rancho Santa Fe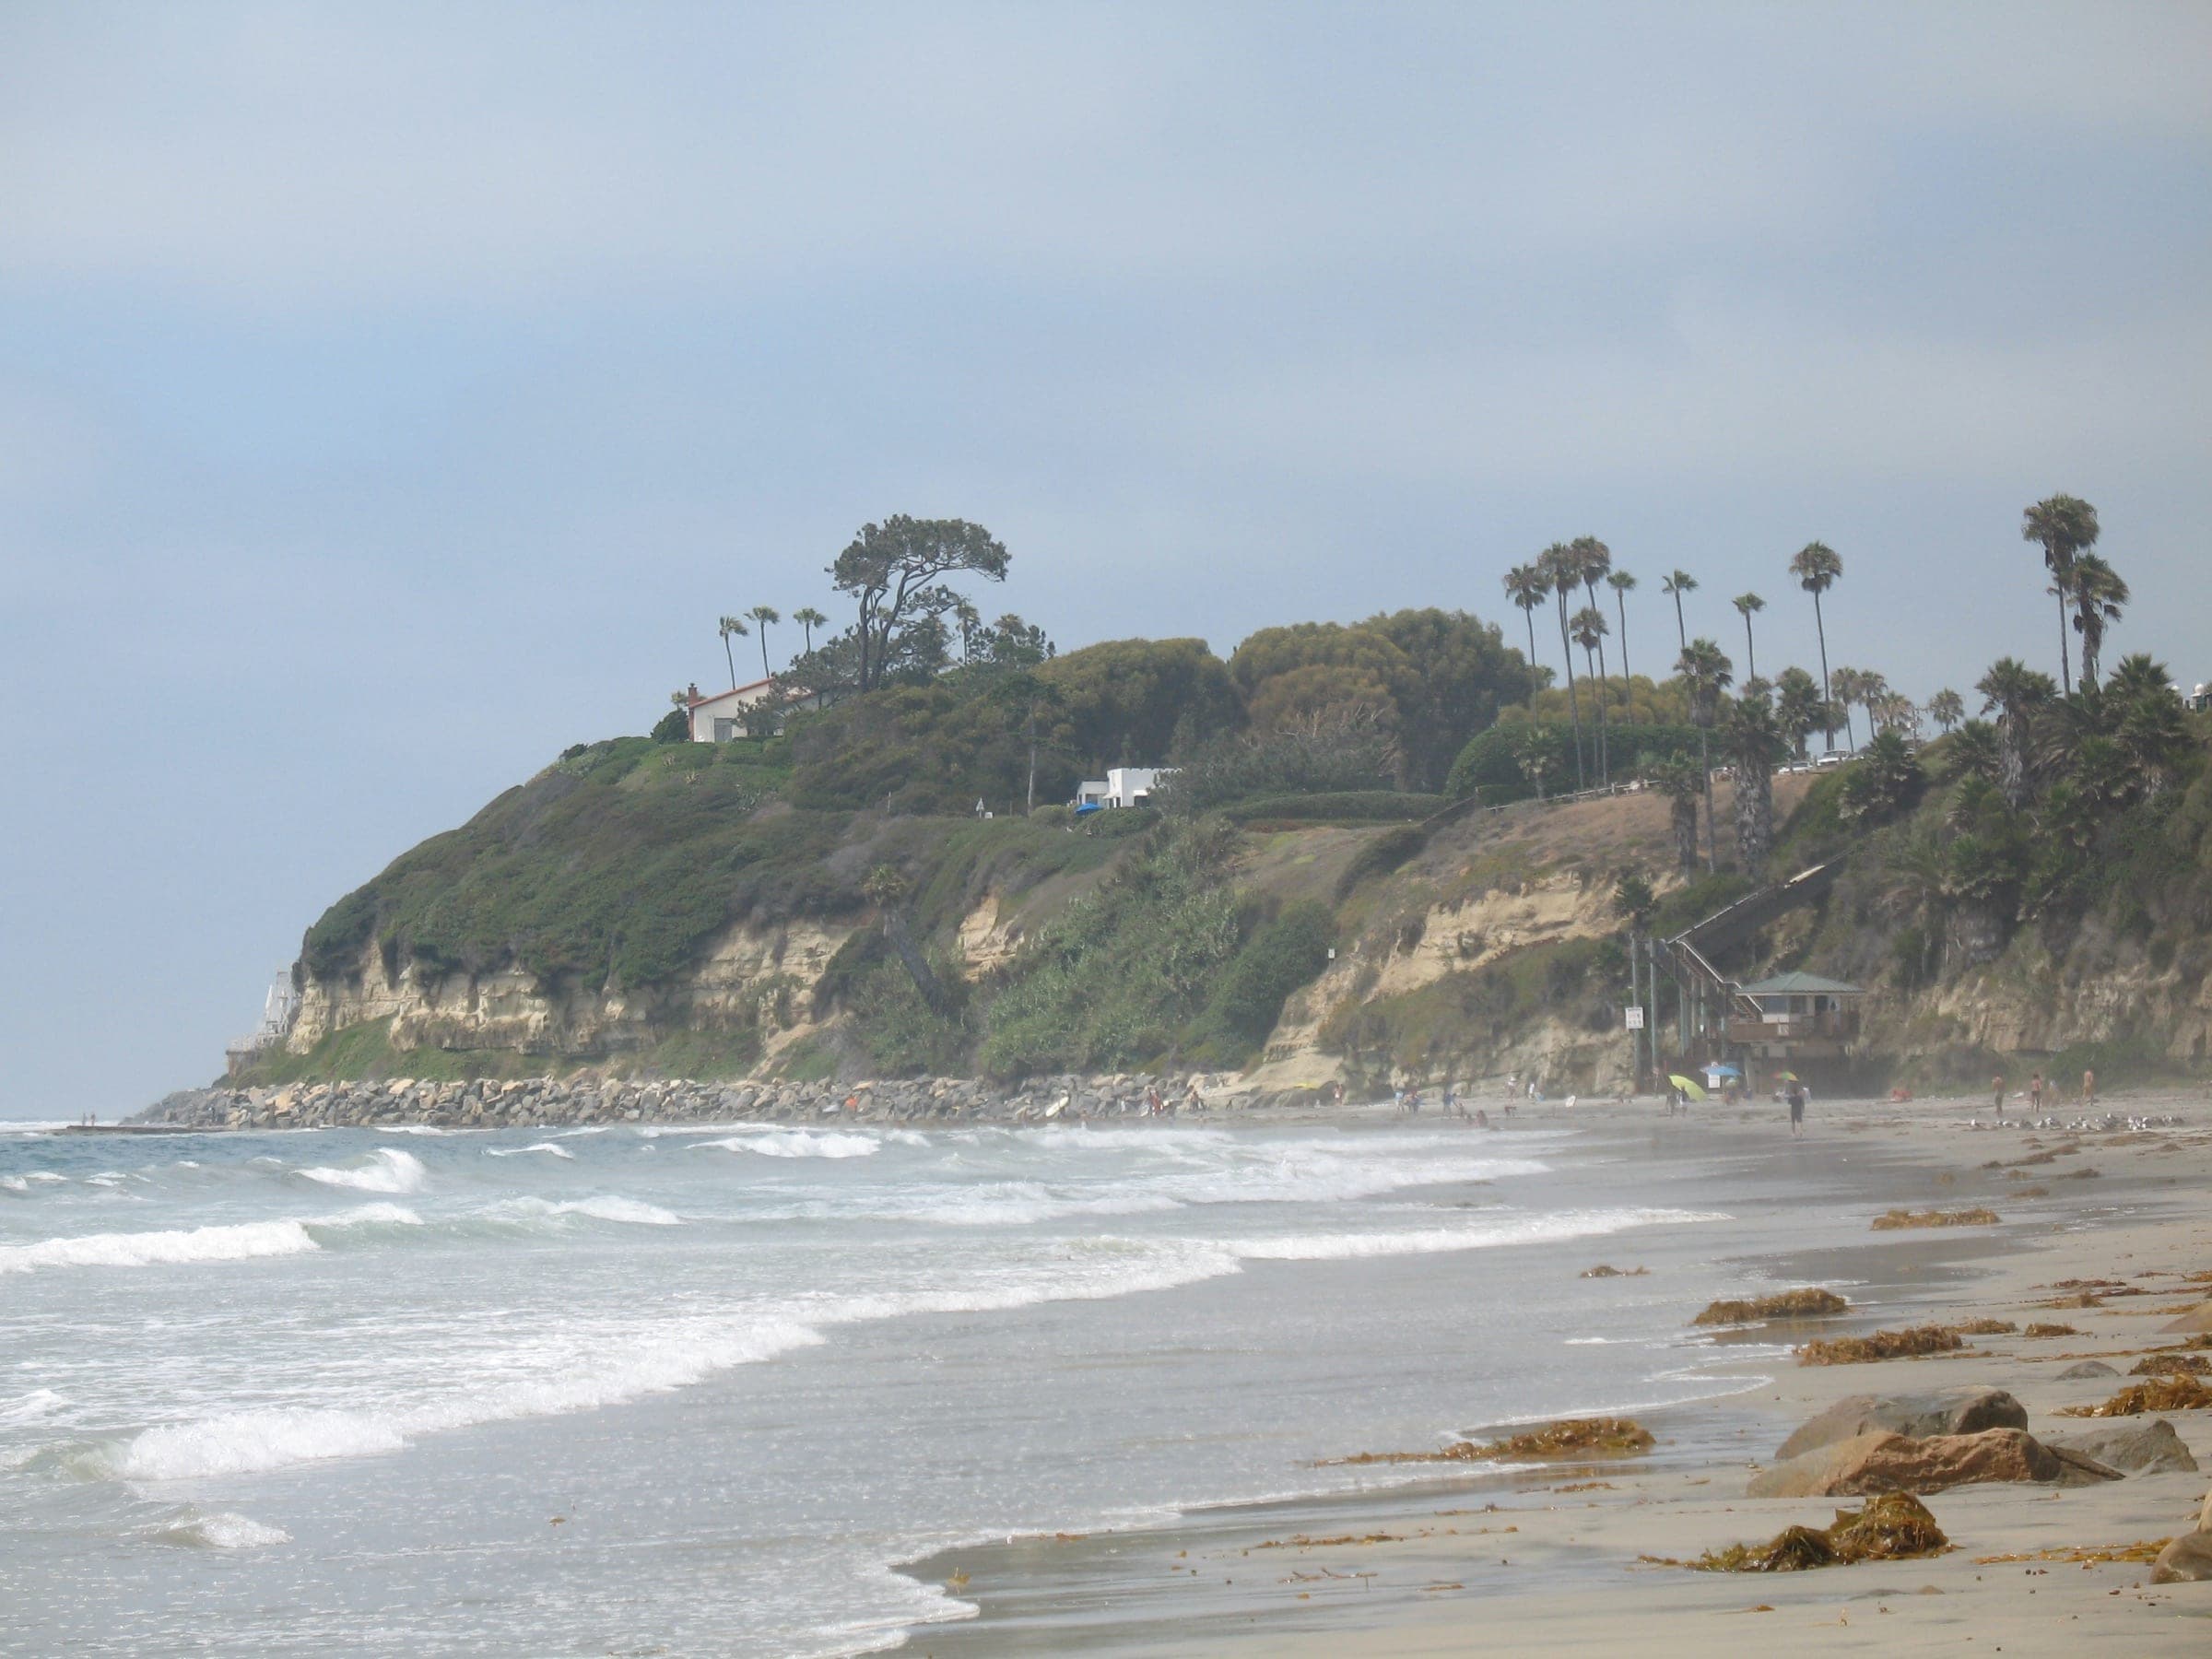
Encinitas
Encinitas garage, patio, and pool deck coatings matched to each community: salty bluff-top air in Leucadia and Cardiff, stronger sun in Olivenhain.
Epoxy floors in Encinitas
Carlsbad
Garage floor systems for La Costa, Aviara, Bressi Ranch, and the Village, plus commercial epoxy and polished concrete for Carlsbad's business parks.
Epoxy floors in Carlsbad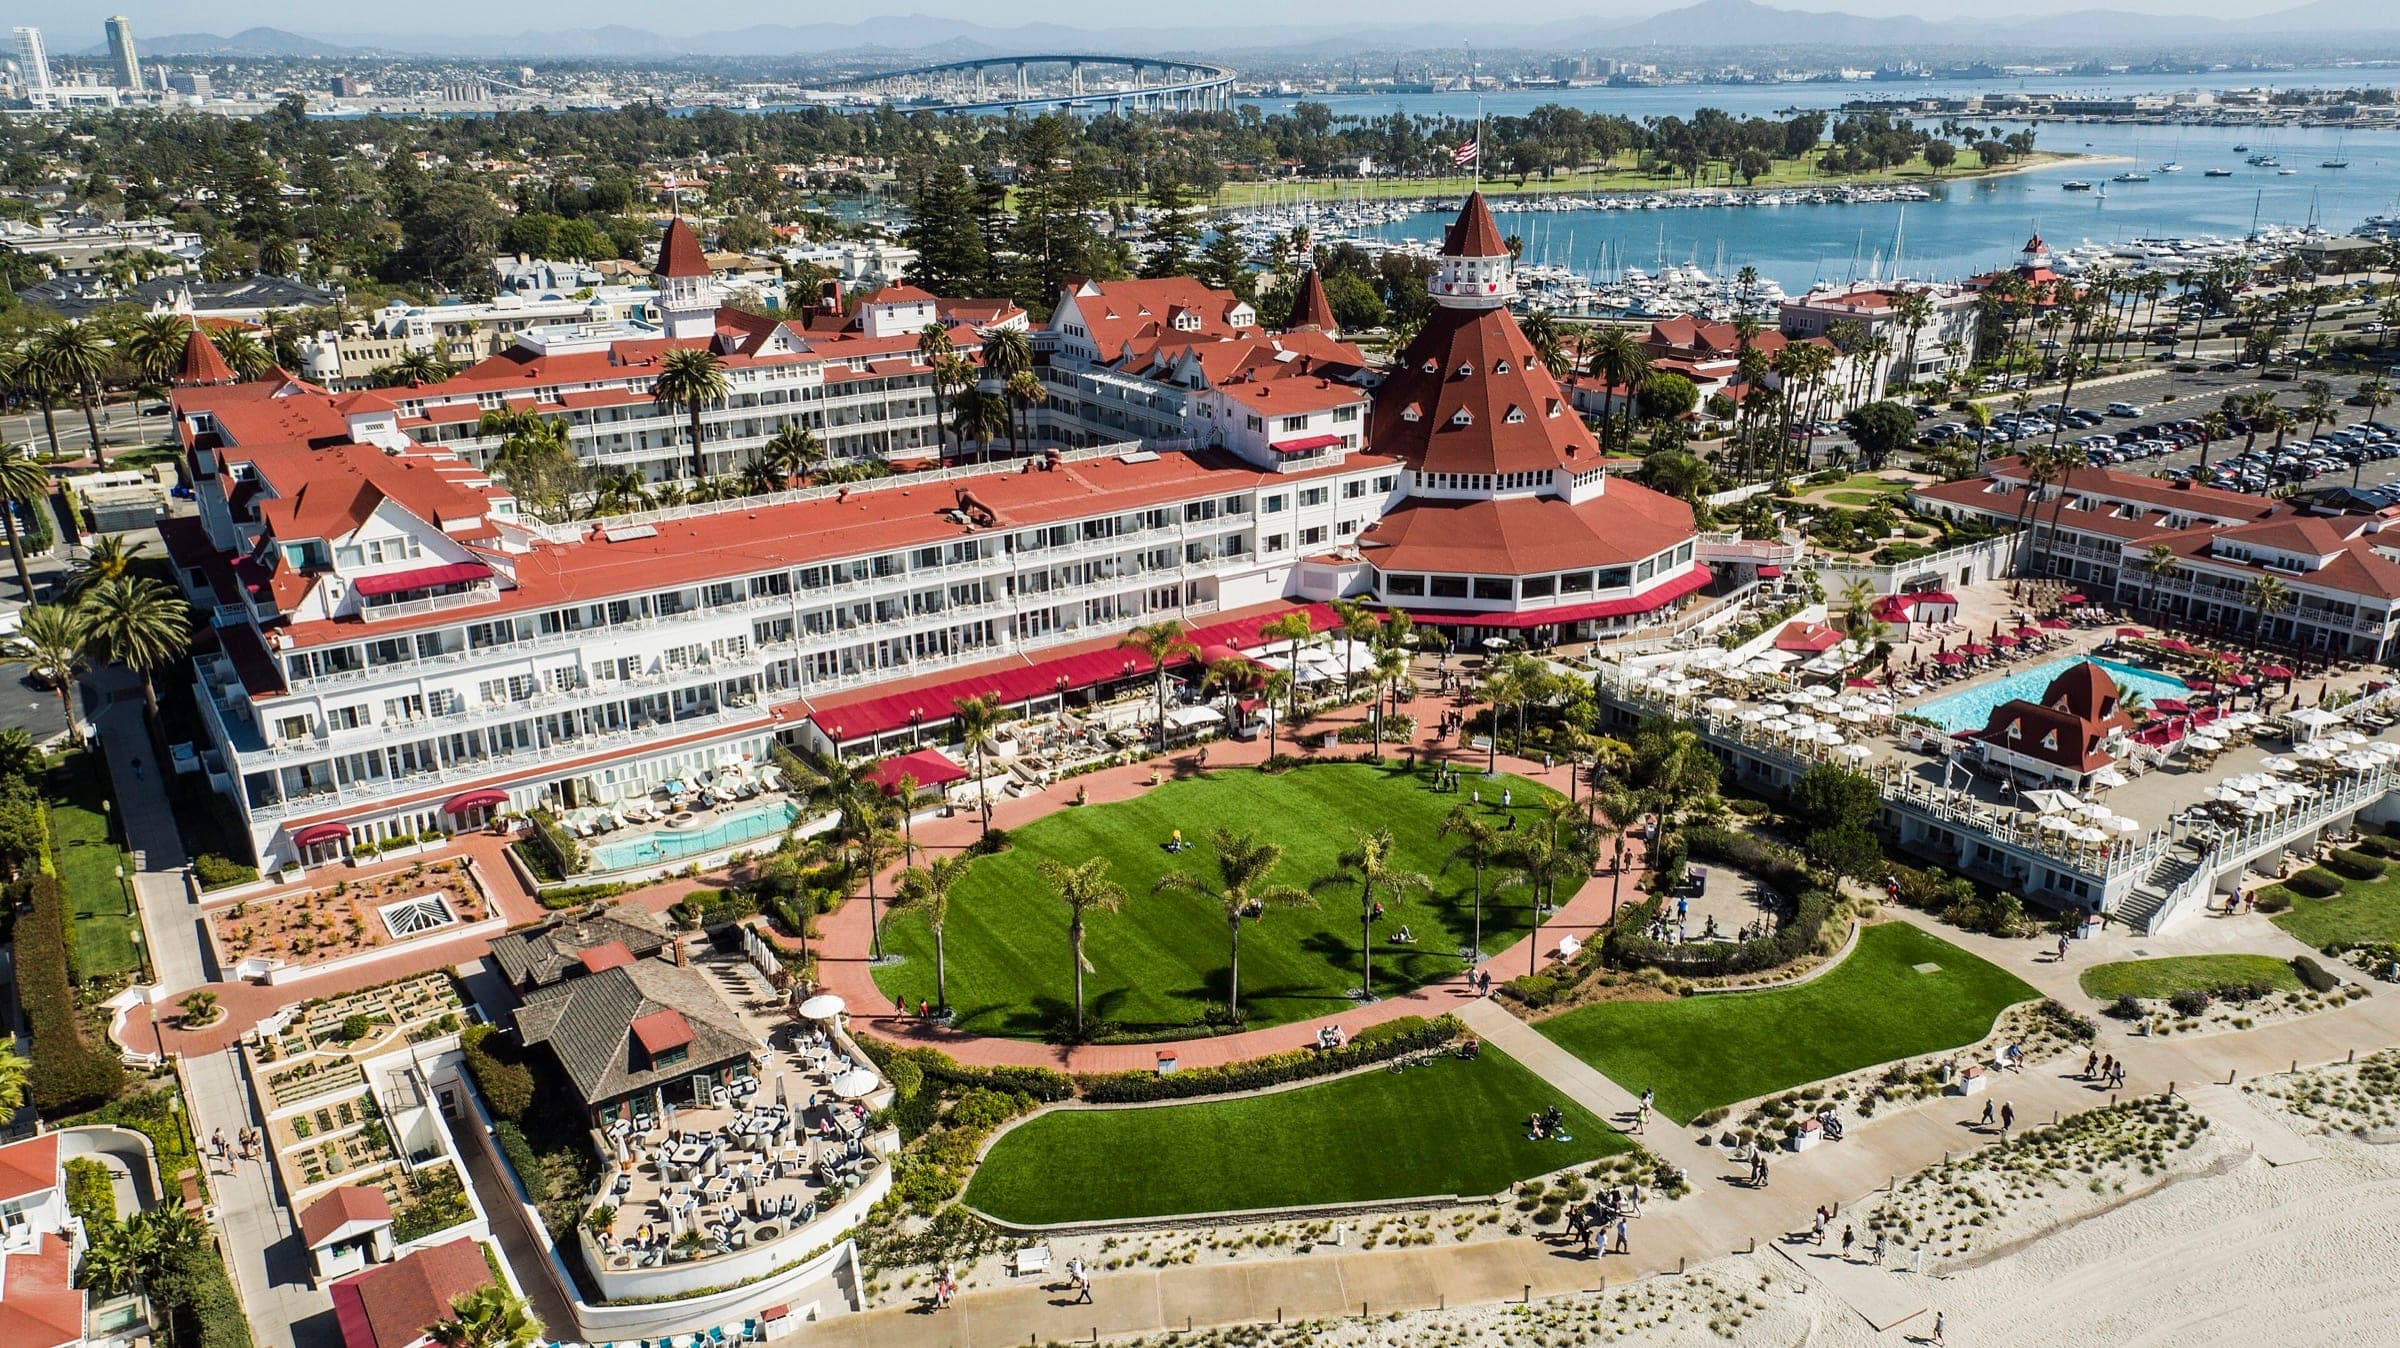
Coronado
UV-stable, moisture-tested floor systems for Coronado's alley garages, bayfront Cays homes, and salt-weathered patios and courtyards.
Epoxy floors in Coronado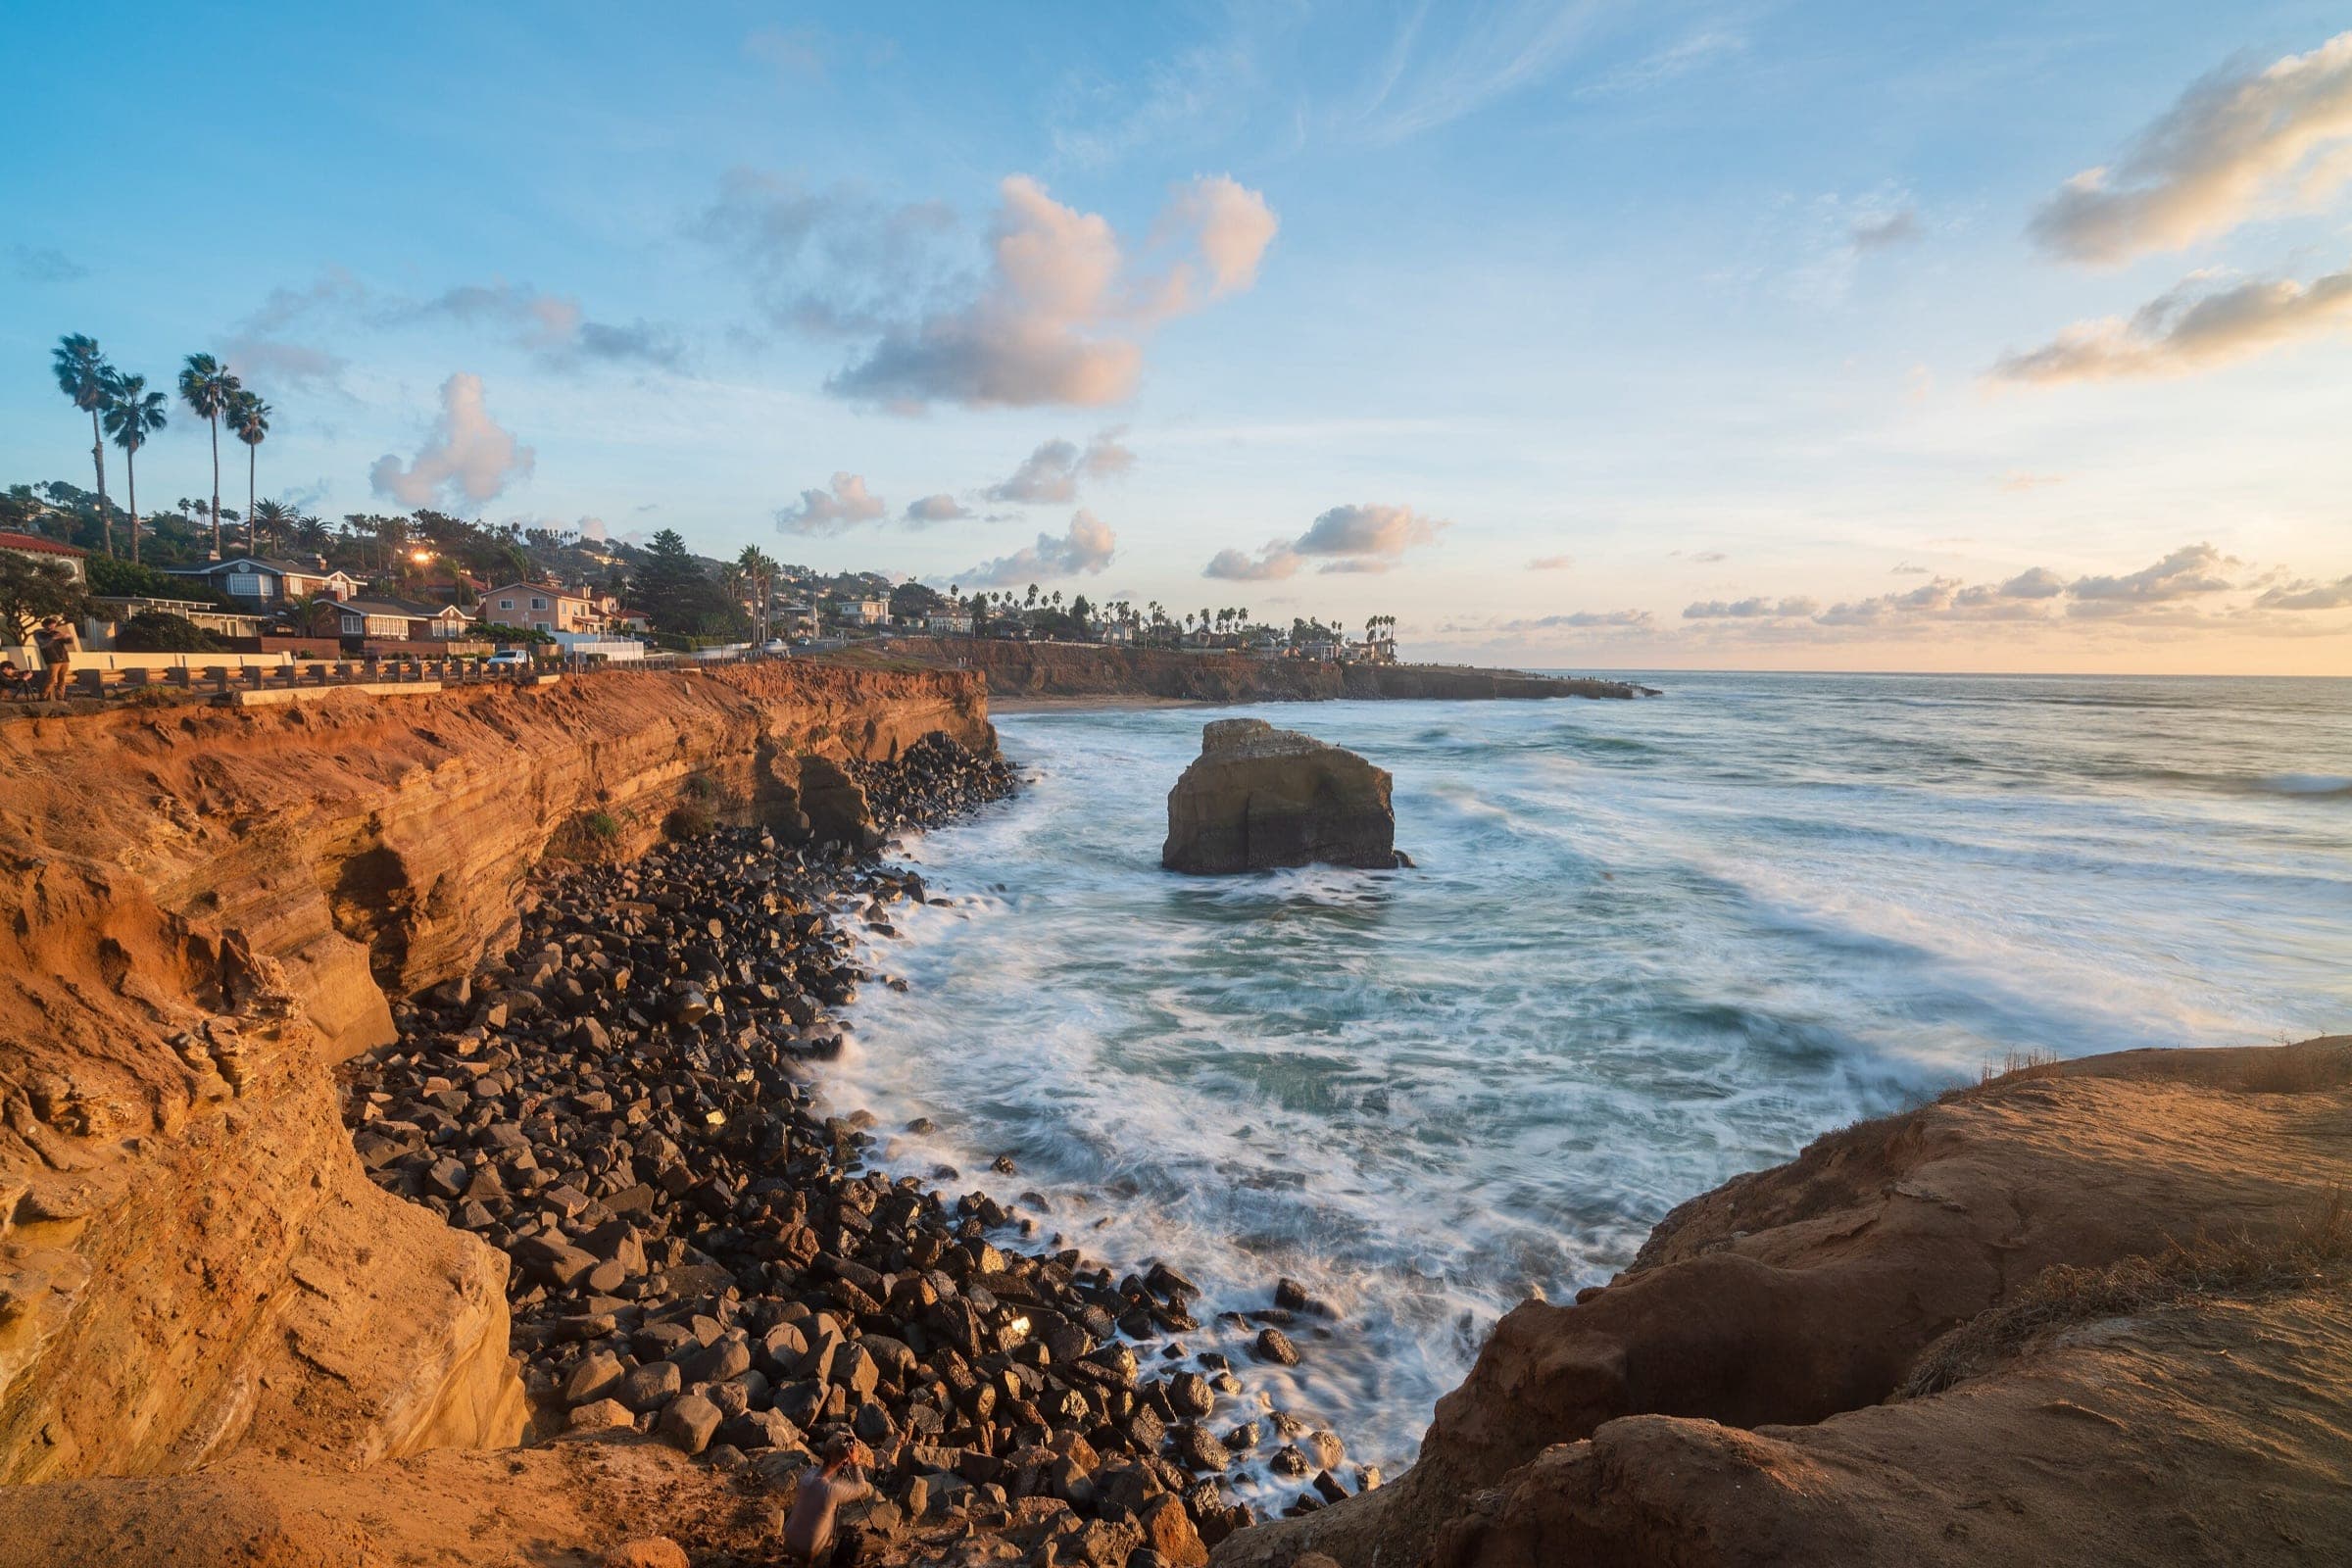
Point Loma
Coatings for Point Loma garages, driveways, and patios, from Sunset Cliffs and the Wooded Area to La Playa and Fleetridge, built for salt air and slopes.
Epoxy floors in Point Loma
Get a garage floor epoxy estimate
Tell us about the space. We will inspect the slab, test for moisture, and recommend the right system with a written estimate.